
| Meet Your Teacher |
Home |
Contact
Information |
| Kids Zone |
Teachers Zone |
Parents Zone |
| Birthdays |
Weekly Homework |
Student
Of The Week |
|
|
|
|
Lesson Plan By Jenna Cohen and Rachel Conklin Unit Topic Or Theme: Science Grade: 5th Grade Lesson Topic Or Theme: Habitats Lesson Objective: The students will be able to understand that Earth has different habitats that support different animals. They will be able to identify at least three different habitats. They will be able to explain what a habitat is. They will be able to work together as a group and communicate with one another.
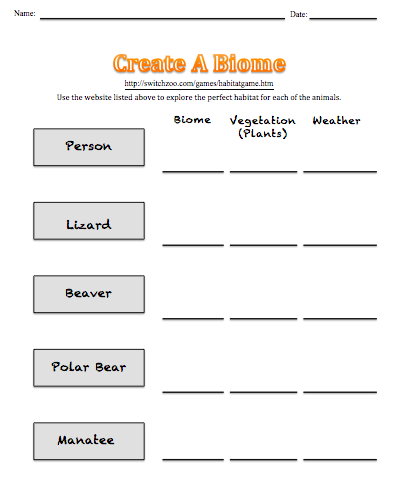
Instructional Technique: Instructional techniques that will be used are discovery, group work, and discussion. Instructional Materials: Websites: http://switchzoo.com/games/habitatgame.htm Matching Cards (have a set for each group): 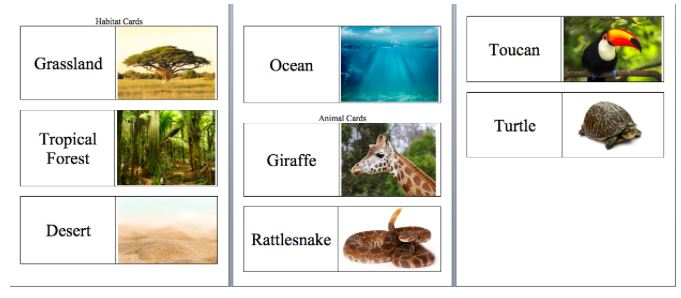
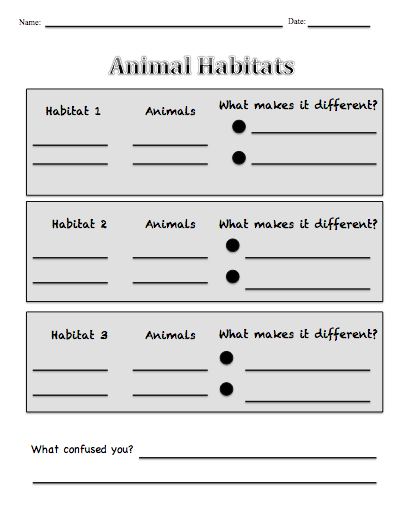
Animal Habitat Handout (one for each student): Create A Biome Handout (one for each student):
Theoretical Perspective: Learning about habitats is important for children because it is a great way to introduce them to their environment around them and make them aware that certain animals need certain conditions to live. By understanding their environment they can form a better connection with it in order to begin to instill in them that we cannot abuse this home of ours and we have to care for it. Procedure: Introductory Activity Matching Activity: Prepare by writing on the board the different habitats (grassland, desert, tropical forest, ocean) from the matching cards. Split the class up as evenly as possible into four separate groups. Pass out to each group a set of biome cards and a set of animal cards. Ask the class if any of them know what a habitat is. Once you have taken some answers to see what they already know, write on the board that, “A habitat is a place where an animal or plant naturally live”. Make sure the students understand what naturally means, it is, “used to describe something that happens or exists by itself without being controlled or changed by someone”. Instruct the groups to work together now, to put each of the animal cards they received to the habitat that they think the animal lives in. Give them 5-10 minutes for them to complete it. Once they are done, have each group write on the board underneath the habitats that you already wrote up there, which animal they put in that habitat. Take a few minutes to look at what the class came up with and point out if there were any patterns of groups and discuss why they put the animals they did in each habitat. Step-By-Step
Closure Now that they have learned about what some of the different habitats are and the kinds of animals that live in it, have them look back at the board and what they had picked for the matching game they did before. Would they change any of the answers they had before? This time go over the correct animals for each habitat. Ask the children if they have any guess from what they have learned as to why animals can only live in certain habitats. Adaptations For Different Learners Students with reading difficulties: To help these students, pictures were added to the matching cards so that they can not only read the habitat or animal, but see a picture of what it looks like. Provide them with an additional piece of paper and instruct them to write down any words they do not understand. Make sure to check in with the student to see what words are making it difficult to understand the habitats. Encourage the students to seek help from peers too if they are having a hard time. ELL students: Along with the other websites, help them get to http://lingro.com . It is an online dictionary that translates any word into other languages. That way, if they are on the other websites and comes across a word they do not understand, then they can use this online dictionary to see the translation in their language. Homework The homework is to go home and write down any animal that the student sees. It can be on TV or outside when they’re walking home from the bus stop, it doesn’t matter where they see it. Write down what kind of habitat or environment they live in or what features you see in their environment, like if it’s raining, if it’s snowing, if they live underwater, whatever they see. The next day, as a class, they will talk about the different animals they saw and the different habitats they lived in. Evaluation The students will be able to understand that Earth has different habitats that support different animals. This will be evaluated through class discussion and during their creation of their mini posters, they must write a key fact they learned. This objective was emphasized during the lesson so they may chose to write this on their poster. They will be able to identify at least three different habitats. This will be evaluated through by the “Animal Habitats” handout and on their mini posters they are required to write three habitats they learned about. They will be able to explain what a habitat is. This will be evaluated by their mini poster, on which they must write a definition of a habitat. They will be able to work together as a group and communicate with one another. This will be evaluated through the matching game and the mini poster, in which they will be required to work with one another. Concerns or questions: Will this lesson be too long? Does the classroom have access to laptops or computers? |